Stamped Metal Jewelry Design Ideas
hi I'm Lisa Niven Kelly founder of
Beaducation and today I'm here to show you
all kinds of different designs for your
stamped metal jewelry if you haven't
already learned to stamp you got a jump
on over and check out my other class
stamping on metal it's a free class and
I go on and on about all the details you
need to learn go into depth on tools and
materials and all that good stuff once
you've done that and you're ready to
push your designs to the next level come
on over here check this out welcome and
I want to remind you that on our site we
have all kinds of classes that
incorporate stamping so make sure to
look at those as well as the DIY design
section tons of design ideas in there
and we're going to show you a bunch of
those today I want to remind you about
the book that I wrote this is a great
go-to place for design ideas as well and
you'll learn some new techniques in that
cool so let's get started the first
design I want to talk about is layering
it's a pretty obvious design you just
take your blanks punch a hole in the top
and the jump ring goes through all the
blanks so all three of these are on one
jump ring has some nice movement and you
can layer names this right here is just
class of 2013 Sara but I've done this
with a kid's name on the top in the
middle on the bottom that's a really
popular design here's one with just
things of interest this is my daughter
Izzy she loves volleyball and her bike
so that's her pendant and then this one
is fun too we've actually put a little
secret message in the back there but the
back plate is textured with some flour
stamps and the front just has a nice
word and a pretty design stamps all
strung on chain and beads so there's one
design idea remember you don't always
have to stamp straight lines on these
samples here we've stamped on a curve so
this guy we've got Elizabeth facing out
over here with a home is where the heart
is we've got the letters facing in
either one looks nice I just wanted to
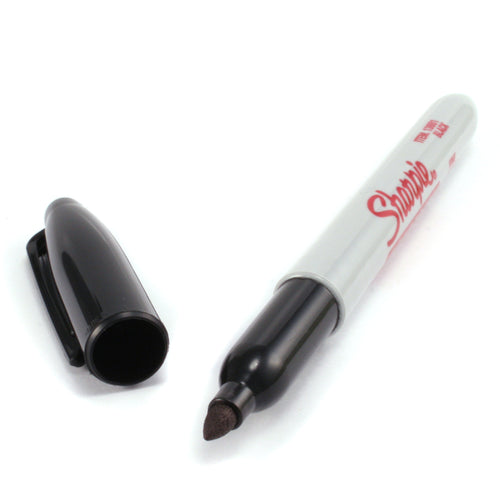
show you those options and if you're
used to lining up your letters against
maybe a Sharpie pen line or the edge of
some tape you're now going to use
the edge of this rounded part as your
guide and stamped from there I wanted to
show you some examples of collage
stamping where you're sort of thinking
outside the box with your design stamps
to build a scene now we do have a free
class on this with Danelle street called
collage stamping and I recommend
checking that out so she can show you
some of the techniques but here's a
couple simple samples over here this
one's really straightforward just two
birds on a line and she is the slash
stamp to build these lines so stamping
it over and over again so you can go
simple to a little more intense over
here like on the Jen pendant we've got
some grass and leaves and flowers and I
really like how she used two different
fonts there for the name that kind of
adds a little spice in there this one
here on the top and bottom of Layla's
that's just one design stamp but she
stamped it three times and then three
times here to build a whole nother look
with the one stamp and up here I love
this tree she used our cloud stamp as
sort of the bushy branches of the tree
in the slash stamp to build the trunk
and the branches as you're designing
along where I've just encouraged you to
think outside of the box with the design
stamps I want to encourage you to think
outside of the box with the blanks so
here we've got a really big circle that
we've made into a gift tag and this is
an ornament and this large shape was cut
out a sheet and this was riveted on it's
pretty sweet and look at this guy it's a
gift tag so on this side to Jill from
Mary but something that they can keep
and maybe hang from the tree or hang on
the wall or even a piece of jewelry
on these samples we again fought outside
the box with the design stamps and you
can see how the superfun texture that we
were able to create on this pendant up
here we use like six different design
stance stamped in a pattern moving from
the inside out and then actually put on
a white patina and buffed it off to
leave the white down and the impressions
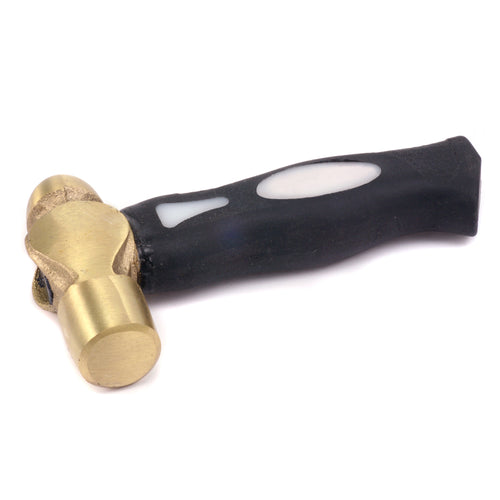
something new and interesting over here
on the Chevron I used a texture hammer
on the brass pieces to get that fun
texture and then design stamps on the
copper pieces on this guy here you
really went for it and made all kinds of
different textures with a bunch of
different stamps and then the three
layers are put together with nuts and
bolts to make this pendant you can check
out our product video on the nuts and
bolts to figure out how to use those I
want to mention a little bit about
shaping that's why I've got you looking
at the tops of these bracelet pieces on
a piece let's say like this guy here if
I left all these segments straight it
wouldn't flow nicely around my wrist but
because I've given them a slight Bend it
does take on the shape of my wrist
nicely same goes for this cuff and this
flat plaque piece here so I'll show you
what I use for that is called a bracelet
bending plier and it looks like this
it's a nylon jaw and it's got a curve in
it so you can come on your metal and
just squeeze squeeze squeeze and it
starts to curve it in the perfect shape
if you want to learn more about this
tool or learn how to make these stamped
cuffs
check out my say it on your wrist free
class
these samples show some techniques that
I really want to encourage you to get
into and it's soldering and riveting so
this piece here this heart is soldered
on to this sterling circle and I think
it just looks great this simple
soldering like this and we do have a
free class on this really can help you
add interesting embellishments to your
pieces over here these pieces are
riveted this little flower the gold
flower is riveted on to the copper
washer with a heart decorative rivet so
that's kind of fun the top of the rivet
is typically round this guy is heart and
we have other shapes as well these two
are riveted together with two rivets
right there and this one up here uses
riveting and soldering so this a is
soldered to this copper piece and then
the whole copper piece is riveted to
this back piece that I've textured with
some design stamps so it kind of brings
the whole thing in together
you can see how soldering and riveting
really lend themselves well to stamping
and I encourage you to go check out our
free classes the soldering one like I
mentioned we've got someone riveting
various designs and check out our
product videos because you'll find some
tips in there as well along the lines of
riveting and soldering I just wanted to
show you these two bracelets we've
really been having fun adding stuff to
leather so these are some leather cuffs
and these plaques that we've made the
top pieces and the little flowers are
soldered on and then the whole team the
whole piece is riveted to the leather so
it makes a really fun interesting
bracelet as I mentioned in the intro our
goal today is to inspire you so I hope
you learned a whole bunch of stuff I
wanted to play with an idea though I
have this plaque here that says Sarah
and I've riveted on the star I just
wanted to talk about all the various
ways that I can then make this into
let's say a bracelet so I want to show
you I've got a lot of choices I can
rivet it onto a piece of leather that
looks great I can take some leather
cording and either run it through each
side and tie it off or maybe run it
through the back and have it be a really
simple bracelet that
that also looks nice or with some jump
rings attach it to some chain and just
make it like a little plaque bracelet I
like that a lot or another thing that
I've done quite often is attach it to a
strand of beads so don't forget that
very large selection of beads you got
sitting at home my friends and use some
stringing wire and attach it up with
some beads see that would look nice like
that as well so there you go the
possibilities are endless
have fun okay my friends so that's a lot
of designs I didn't lie did I don't
forget about all the stuff I reminded
you about on our website to check out
and always think outside of the box and
we're not just making jewelry with
stamps you can do all kinds of different
stuff think outside of the box with the
blanks and with the stamps have fun and
always drop us a line and let us know
what you're working on we look forward
to seeing that thanks again


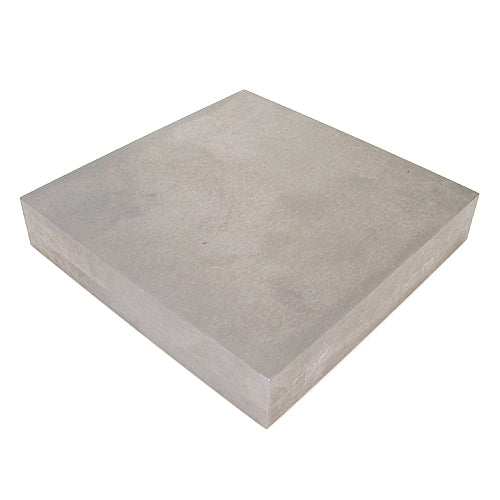
Tools & Materials
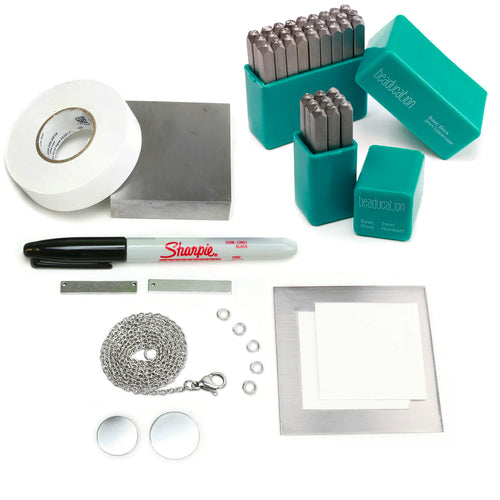
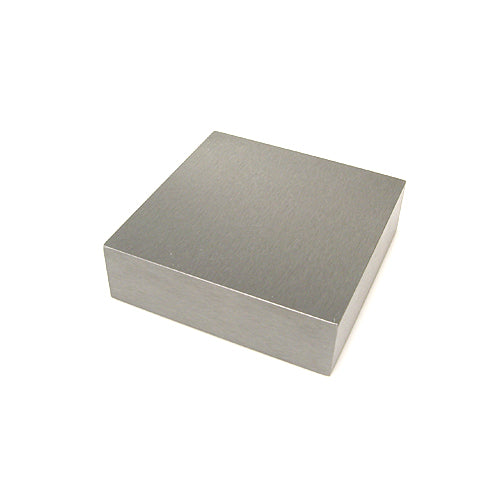
Steel Bench Block - 2.5" x 2.5"