Beginner's Metal Stamping Checklist
Beginner's Metal Stamping Checklist
Here's a list of all the goodies that you will need to get started with metal stamping!

 Our FREE Online Video Class "Stamping on Metal"
Join Lisa and learn all the basics on getting started with stamping with our how-to video on YouTube.

 A Letter Stamp Set and Stamping Tape
- There is no right or wrong choice when it comes to picking the style of letter that you want to work with.
- Browse through letter sets and decide what you would like to use in your designs.
- Two of our most popular sets are the Economy Block Letter and Number Set and the Kismet Letter Sets (if you're feeling a little fancy).
- Use the Stamping Tape to mark measurements indicating where each letter should be placed. The thickness of the tape makes it so easy to catch the edge of the bottom of your stamp as you drag it down. Your letters will be perfectly aligned!

 Bench Blocks
- Check out our selection of Bench Blocks.
- Made from high quality tool steel and ground smooth.
- Ideal surface for stamping, forging or texturing.

 Hammer
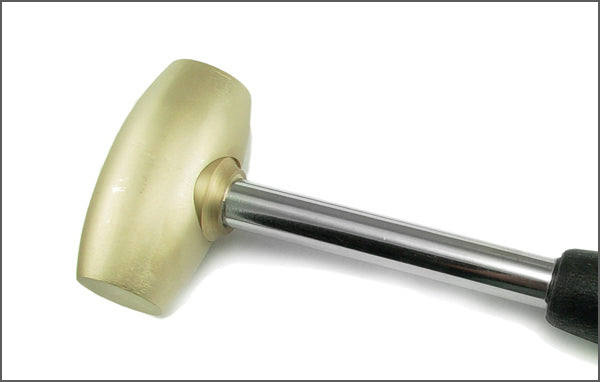
- You need a hammer which weighs at least one pound (16oz.)
- We recommend the 1lb Brass Head Hammer/Mallet
- Gives a nice dead blow with less bounce.
- Great performance when dapping or stamping.
- 2 lb Brass Head Hammer/Mallet is also a great alternative, especially for those more detailed stamps.
- Here's a link to all our hammers.

 Practice Sheet Metal
- Copper or Aluminum sheet is an important item for practicing your stamping.
- Check out all our Sheet Metal.
- Do not forget this material for practice!

 Stamping Blocks
- Your choices are endless: Sterling Silver, Silver Filled, Gold Filled, Copper, Brass, Nickel, Pewter, Aluminum and more. Use the filters on the left side of this page to choose metal, shape or thickness.
- Just don't forget to practice on that copper sheet before you hit these blanks!

 "Moxidizing"
- Adding ink, nail polish, paint or enamel is a quick way to darken, or color, the stamped areas of your jewelry.
- Once you color over your stamped word, just polish away with your Pro Polish Pad.
- We call it "moxidizing" because "oxidizing" refers to turning your metal black, but since this pen is only adding ink (rather than changing the surface of the metal) it's like faux oxidizing, which we termed moxidizing ;)

 Pro Polish Pads
- Pro Polish Pads
- Great for polishing or removing oxidation or ink from your blanks.

 Metal Hole Punch
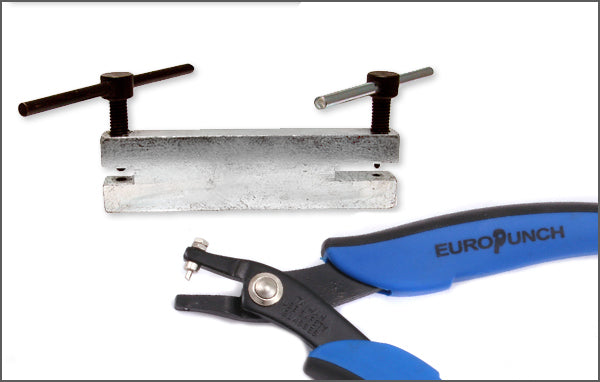
- We have a huge variety of hole punches to pop a hole in your metal.
- Here is a link to all our punches.
- The Power Punch Plier is a big fan favorite because it gives you so many hole options and it creates a really clean hole.

 Jump Rings
- These are necessary for hanging your pendants once you have punched your hole. Check out our selection in various metals.
- We love oval jump rings because your finished piece will hang with a lower profile and the opening of the ring will naturally be on the side making it less likely for the pendant to slip out of the ring.
- 18 gauge jump rings are perfect for your 1.25mm punched holes.
- 16 gauge jump rings are perfect for your 1.8mm punched holes.
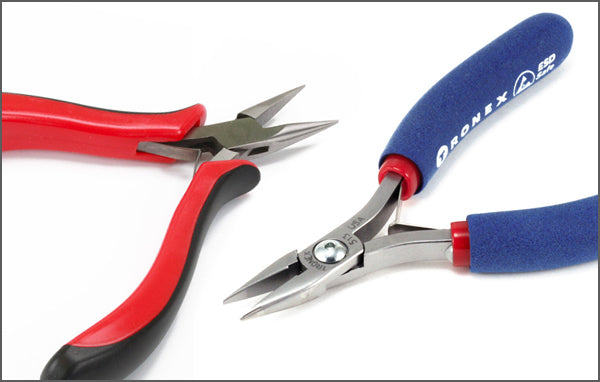
- In order to open and close your jump rings, you will need a Chain Nose plier and a Flat Nose plier or Bench Chain nose plier (or 2 Chain Nose pliers works too.
- Here's a video to show you how to properly open and close your rings.

 Chain Nose Pliers
- In order to open and close your jump rings, you will need a Chain Nose plier and a Flat Nose plier or Bench Chain nose plier (or 2 Chain Nose pliers works too.
- Here's a video to show you how to properly open and close your rings.

 Optional: Stamping on Metal Starter Kit
- We packaged it all up, too! Our Stamping on Metal Starter Kit has everything you need with the exception of the hammer, design stamps and pliers. If you have a household hammer, this could be the choice for you.

 Optional: Design Stamps
- Browse our vast collection of design stamps.
- Starting out with a less detailed stamp is easier.
- The more detailed design stamps may require a 2 pound hammer
- The Tilt n' Tap method demonstrated here helps with stamping design stamps

 Optional: Metal Stamping Book
- For more stamping ideas, check out Lisa's bestselling book, Stamped Metal Jewelry, or the follow-up book, New Stamped Metal Jewelry, by Lisa and Taryn!
- Step-by-step instructions on 10 projects!
- Learn to layer, rivet, texture and oxidize your stamped jewelry.
- Link stamped components with flat wire and wire wrapping.
- Create charms and incorporate stamped links into your beaded projects.
