How to Make Soldered Jewelry, Episode #3 - Stacking Rings
This is Episode #3 in our How to Make Soldered Jewelry video series. Create your very own unique and beautiful stacked rings! Instructor Aisha Formanski teaches you how to size, cut, shape and solder rings that will fit perfectly. The class takes the technique to the next level by adding texture and small blanks to the rings to add variety when stacked. >> Scroll down for the list of tools.
Here is a link to the Ring Sizing Guide.
hey there i'm Lisa Niven Kelly here for
Beaducation.com and in this video we're
gonna teach you how to solder a very
simple ring out of wire and then a
couple things you can do to embellish
out rings so you can make your own stack
of rings this class is actually taught
by I should hermanski and it's one that
we've had on our site for a bunch of
years but the content is perfect for the
soldering series that we've put together
so if you've stumbled on this class just
to learn how to make stock rings welcome
but if you're following our soldering
series this is episode three so the
first episode we talked about tools and
materials we don't do any soldering we
don't even light up a torch we just talk
about what you need in a second episode
we do line up a torch and we talk about
sweat soldering which is soldering two
flat pieces together and in that episode
we used sheets on ER we cut a little
piece off a little pal Ian or it's also
called a chip and soldered with that but
you could have also used paste solder or
wire solder if you're gonna use wire
solder I probably would have hammered it
flat so I had a flat piece in between
the two so in that class we use the
sheet solder but in this class i shows
how to solder the ring shut with wire
solder a really fun way to apply it and
she also shows with paste solder I'll
just turn it over to ice you know and
she's gonna teach you how to make some
stacked rings the first step to making a
ring is doing a little bit of math I
know for a lot of you this class
starting and seeing math was maybe not
your dream but I'm gonna walk you
through it it's super simple so let's
let's just dive right in here so I'm
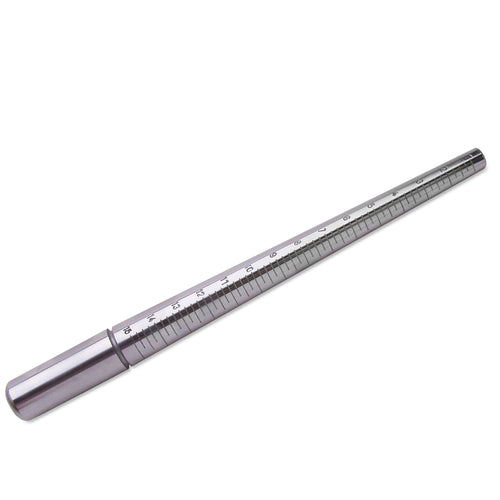
going to make a size six ring today with
round wire that is 14 gauge so what I'm
going to do is I take the inner diameter
for a size six ring which is sixteen
point five one and I add the thickness
of the metal one point six three
millimeters which is the thickness of
our wire which equals eighteen point one
four and then you're going to multiply
the
by pi which gives us fifty six point
nine five which gives you the total
length that you're gonna cut your
material down to now this is a pretty
precise number so I'm just going to
round up and make that fifty seven you
can find a handy table that gives you
all the us ring inner diameter sizes and
all the details on this math under the
instruction section as you see I've
measured and marked at fifty seven
millimeters and I want to point out here
see how this little end is popping up
like that you really want to make sure
that this is exact so I'm just gonna
push that down to show that it's exact
ring sizing is very very precise half a
millimeter or a full millimeter will
bump you into a different ring size I'm
gonna bring in my heavy-duty flush
cutter here this is my favorite cutter
and we're using pretty thick wire here
today so I want to remind you to cut far
back in the jaws you don't want to cut
out in the tip here it's not the
strongest place on the cutter so let me
get this all lined up for you I want to
show you here that I'm placing the
cutter and even though the handle
appears to be coming out at an angle can
you see how nice and straight the wire
cut edge is to the line of wire this is
where you want to be
now we have this really nice razor flush
cut edge I want to bring in the file and
do a little cleaning up you can see here
you see that little line when the two
blades pass one another they leave this
just this little hair of a line I'm
going to remove it using a file now
sometimes when you file just up here in
the air unsupported it's really hard to
keep a flat and straight line so I'm
going to show you a couple tricks you
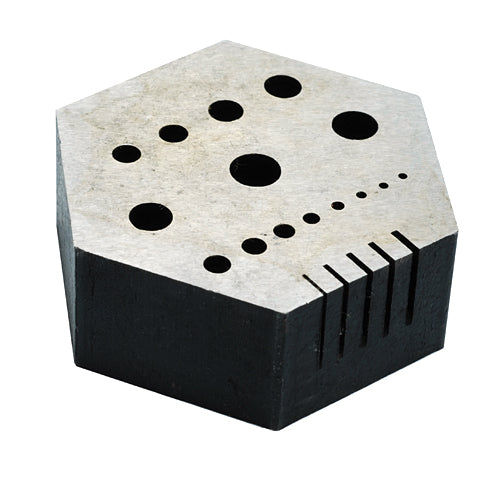
can use the handy dandy riveting steak
now you find the hole that fits your
wire
and poke it through now keeping in mind
what I just said about removing metal we
don't want to remove a lot of metal
right because then our ring will be too
small but you can support the wire let
me ankle this so you can see it you can
support the wire inside the ribbiting
stake and just have that little bit
sticking out so you can feel it and then
take your file and remove the excess
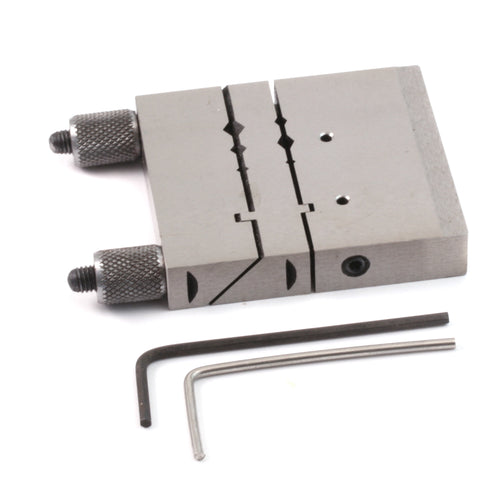
another tool you can use is the miter
jig I love my miter jig you're going to
see this in this class a couple of times
as you see I've placed the wire through
the jig and just have a little bit
sticking out here and then I'm going to
tighten down here nice and tight bring
in that file again and just remove the
very end
run my finger across it that feels
really good so we now have two perfectly
flat and flush ends here's one of my
favorite parts of this process is
shaping the ring and preparation for
soldering now you would think that we
would want to make this into a perfect
circle but we actually don't and it
actually doesn't even really matter that
much what shape it is at this part the
most important part is that the two ends
come together and meet nicely together
you've noticed while I've been talking
I'm already manipulating the wire and
I'm just starting to add a curvature
into the center and I'm using the medium
wrap and tap to pull the one end in
words like that flip it over and do the
same thing on the other end what I'd
like to really press at this step is
that this is not a fast part of the
process this is really just a lot of
tweaking and torquing and and getting
those two ends to meet so let's just
work on that here for a little bit
that ends looking pretty good get this
other side in
I must admit I may have put on too much
hand lotion here this is a little
slippery we're getting there and getting
warmer I'm not gonna bring in my chain
nose hair just start to move the two
ends together kind of like opening and
closing a jump ring all right here we go
we are getting close can you see that
little gap it's like a little bit of
work to do bring my we wrap and tap back
in here and I like to build tension by
Criss crossing the two ends passing them
past each other and then pulling it back
together you can probably hear the
clicking as they pass back and forth get
in there with your hands if you need to
filling that tension and working it back
and forth and that looks pretty good and
remember the success to a great solder
seam is to flat flush ends together with
no gaps to hold up my ring while I
solder you'll notice here I have this
notch carved into my kiln brick and it's
very easy to do with a tweezer and the
other little sharp point you just take
your tip and carve into the soft stone
you can do this on charcoal as well I'm
first going to show you how to solder
using solder paste here's my little
solder paste I'm using easy solder paste
are also known as soft this has the
lowest flow temperature and why not
because we're not going to be
introducing any other solder to this
piece so this is actually quite a bit I
would recommend putting on maybe the
equivalent of what would be it maybe a
size 11 seed
if you wanted to get really particular
maybe a size of 10 seed bead it's just a
little dollop I'm just gonna adjust this
a little bit
so I know you can't see me but I have my
hair pulled back my safety glasses on
because safety is always first right and
let me walk you through what we're gonna
do here I'm gonna ignite my butane torch
and then I'm gonna slowly heat the ring
I'm actually gonna have a flame pretty
far back this ring is pretty small so we
don't want to shock the metal so keeping
in mind just lately warming in a
circular motion then the binder is gonna
burn away so you're gonna see a little
bit of smoke and then we'll be a little
sneaky little flame which is my
indicator to move in closer with my heat
and focus on the scene the reason I'm
talking you through this now is that
it's gonna happen pretty fast so let's
turn down the lights in the studio so
you can see the action a little bit
better
[Music]
[Music]
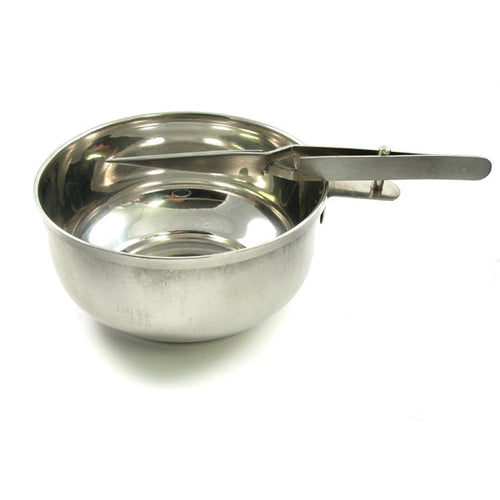
there we go this is one of my favorite
parts the quenching I know this is not
real pretty right now we've got a fire
scale all over but I wanted to show you
that the seam is closed and next I want
to show you how to solder using Sutter
wire now I'm going to show you how to
solder the ring seam using wire solder
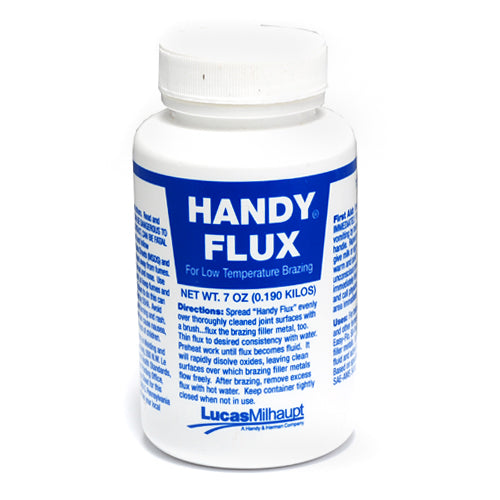
first I'm going to apply a little bit of
flux on the seam the top and the bottom
here not too much because the solder
will flow where the flux is so you don't
want to make a big ol mess now let's
talk through this a little bit because
it's gonna happen really fast so what
I'm going to do is I'm going to ignite
the torch and I'm gonna slowly in a
circular motion heat the ring heating it
consistently now just as it starts to
get warm I'm going to bring in the
solder wire and I'm going to touch it to
the seam so as the ring heats up and
gets to temperature to melt the solder
it'll flow now there's a happy medium
between oh it started to flow and then
pulling away and oh it started to flow
I'm just going to let it continue to
flow and go forever I'm going to turn
down the studio lights here so you can
see more closely
there we go that worked pretty well I'm
gonna go ahead and crunch it and then
we'll bring up the house lights so you
can get a nice look here is the Sutter
seam once again not so pretty but I'm
going to clean it up and we'll move on
to the next step
let's now shape the ring and slide this
on a steel ring mandrel here and pull it
down as far as I can and I'm gonna
lightly tap it with a plastic mallet
really briefly I want to touch base and
talk about the fact that this is now
really soft because we heated it with a
torch it's now annealed most likely
while shaping the ring into a true round
shape it's going to grow about a quarter
of a size this is something that you can
just take note of while you're making
your first rings and make adjustments in
your original measurement for the next
round I just continue to lightly tap
this is not a heavy-handed task
sometimes I like to take it off and flip
it around just to make sure it's
consistent let's take it off and check
it here oh what's there
this is looking pretty good I want to
show you a little something here from
the side it's a little wavy it's not on
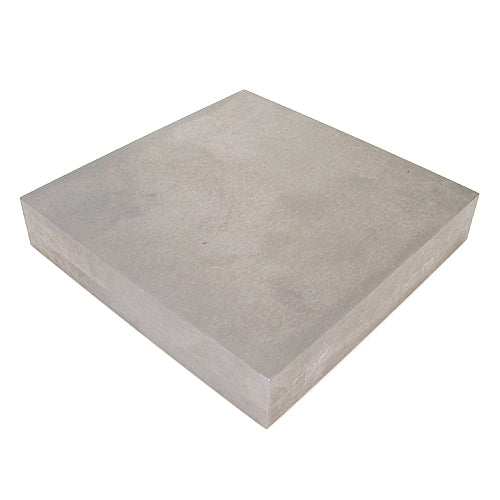
a flat plane so I'm going to bring in
the bench block and we're gonna give it
a couple couple whacks I've placed the
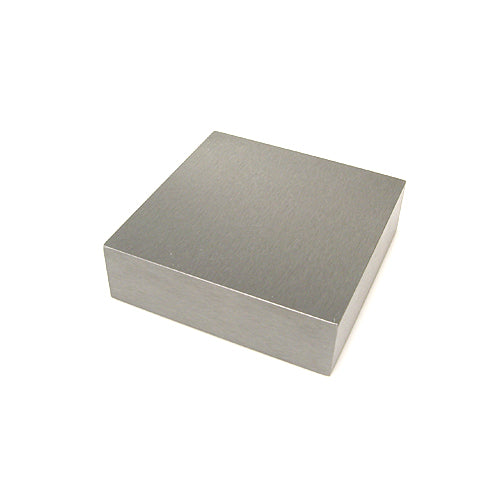
ring on a bench block and this is a good
example of what happens to a well used
or well-loved bench box see all those
little dings and nicks I don't want
those to transfer to my metal so what I
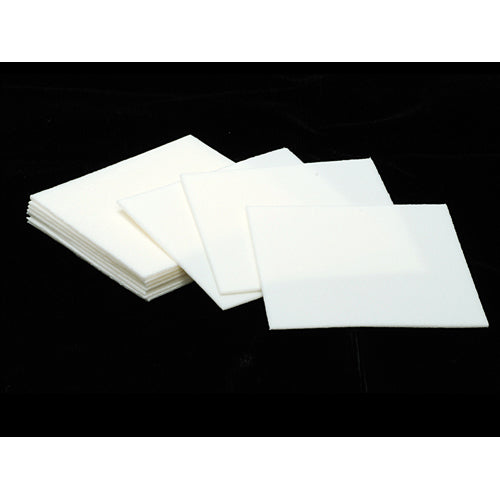
do is I take a pro polish pad and I just
lay it down on the bench block this puts
a little buffer between the soft metal
and the bench block and then I'm gonna
give it a couple whacks flip it around
[Music]
pretty much all it takes let's put it on
the ring mandrel and see what size that
it was remember what I said about the
stretching so remember we are making a
size six so let's see how this played
out six and a quarter so the ring
stretched a quarter of a size so next
time I made a ring if I needed to be a
really specific size I would make an
adjustment in my math here is the
finished ring I think it looks pretty
good turned out pretty great here's the
little seam you can kind of see it now
if you had excess solder say a mound
here on the outside or on the inside you
could use a fine grit sandpaper such as
400 grit or even finer to just rub away
the excess you also could use silicon
discs with a rotary tool or for them
that works super good this is pretty
great let's take a look at some other
things that you can do these are some
some rings I made in preparation for
this class I'm super excited how they
turned out the first one on the far left
I use a chasing hammer to create that
nice kind of traditional hills and
valley texture
the center one I used our slash stamp to
just create some nice defined lines the
third one of course is just plain and
simple I like them tailor this way
remember when you add texture or design
stamps to your ring you're going to want
to use a sandbag and a ring mandrel
let's read your ring onto your ring
mandrel nice and tight place it on your
sandbag the stabilizes it and you'll be
good to go to work away and rotate also
remember anytime you add design or
texture you're dispersing the metal not
removing it which means the ring is
going to grow a little bit more and you
might ask well how much more is it gonna
grow and it's really gonna depend on how
much stamping and how much texturing you
at the ring here are a bunch of rings
these are just simple plain round wire
rings like we did in the first section
of class these are the textured and
stamped round wire rings I think turned
out great
now these two you haven't seen yet these
are using our thin rings which are
already made for you and then adding
texture using the nine face texturing
hammer and then this one just has little
stars with a little period stamp between
each star then there are the rings that
we've added the solder ball tool of
solder balls - these ones are the solder
balls and they worked great I wanted to
talk a little bit about this one this is
our small classic heart it's not a
solder ball it has a little it's a
little bit larger so I actually had to
create a little cur
in the heart so that it had
surface-to-surface touch with the ring I
did that by squeezing it with the ring
bending plier also remember sterling
silver charms are a great addition to
stacked rings you can just trim off the
loop and solder them straight on one
last thing stamping is a great little of
detail to add to the front of these
little these little solder balls and
blanks you could do an initial or design
and be really cute
[Music]