How to Make Soldered Jewelry, Episode #6 - Post Earrings
hey there I'm Lisa Niven Kelly for
Beaducation.com and in this episode of our
introduction to soldering series we are
going to make some stud post earrings
[Music]
this is actually a class that we've had
on our site for a little while
I should for Mansky teaches it and it's
really fun we take a little stamped
blank and a post earring and solder it
right on there I'm all set up here to
solder my little posts onto the back of
these blanks to make a cute pair of stud
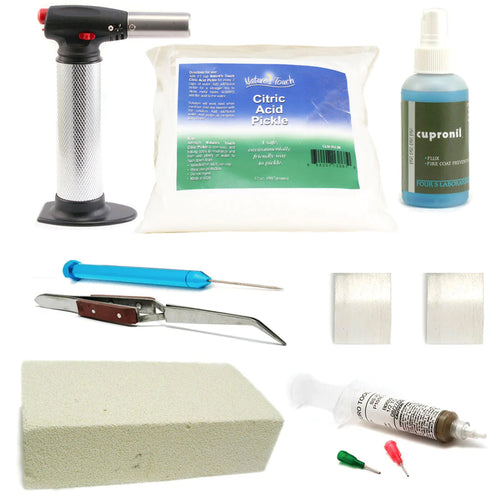
earrings I have my small butane torch
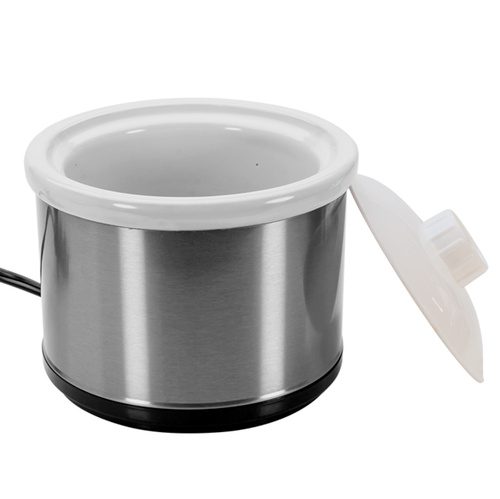
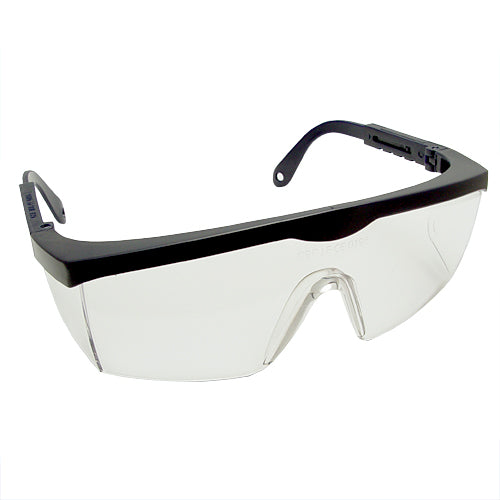
safety glasses a quench cup some flux
and a brush my soldering tweezers Krass
locking wooden handle tweezers charcoal
block and then everything is here is on
a non-combustible work surface and I'm
also making sure to work in a
well-ventilated room I'm going to use
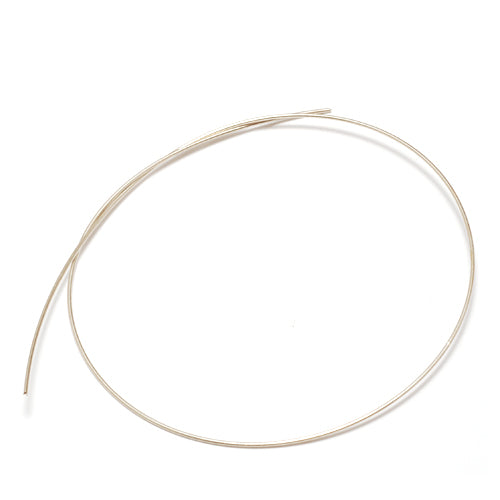
easy solder wire for this project these
are pretty cool these are solder cutting
pliers the cut sheet solder and wire
solder you just put it right here in the
little hole open the little jaw and it
cuts these little pal Ian's I know it's
super teeny but bear with me there's
this little pal Ian here I know we're
just soldering two joins for this
earring but I tell you if you only
prepped two pieces of solder you're
destined to need three so always make
sure to give yourself one or two extra
little pieces of solder go with three
put that aside so here I have one two
three little pal Ian's
you've also noticed I placed a little
mark on my blanks there these identify
the top of the design a little diamond
there a little shiny on say her
that sharpie marker is actually going to
burn away but I know when I place it on
my block if I put it at 12 o'clock that
that's the top I'm actually going to
start these posts just a little north of
Center so that when they're being worn
they don't spin on the centre access so
that your diamond design is always
pointing the right direction
I'm gonna take my flux and flux my
blanks and my posts I actually find it
easier to bring the post to the flux and
so the flux of the posts so pick them up
with little tweezers here and just swipe
them on the brush
no everything's flexed I'm going to take
my first post I'm kind of all thumbs
here today so excuse me these are very
small pieces and I'm going to clamp it
here in my would handle Frost locking
tweezer and I'm going to put the post at
a little bit of an angle this is going
to make picking up the solder and
soldering the post in place a little
easier I do want to drive home the point
that you need wood handled cross locking
tweezers as we work the heat is going
you know these tweezers are gonna heat
up and if you're using just regular
tweezers what happens is from the
tweezers start to get really hot and you
have to try to solder the post in place
before your fingers begin to burn so
make sure you get those those tweezers
with the wood handles I'm going to
strike my little butane torch using just
a small one here
you notice I was adjusting the oxygen
here we just need a small flame so I'm
going to turn the gas down what turned
it so far down it went out
that looks about good all right so
here's what we're gonna do I am going to
melt one of this solder pal Ian's into a
little sphere and while it's glowing hot
I'm going to touch it to the end of the
post so let me show you this
Keith the pallium there it is into a
little glowing sphere bring in the post
and pre flow that solder on to that post
now I'm gonna heat my little blank no
preheating it a little bit and a fluffy
part of the flame waiting for that flux
to get kind of shiny and then I'm just
going to hold my post in place while
heating the blank try not to keep the
post it's going to get enough residual
heat from the blank if you keep the post
you may melt it so just keep your heat
on the put on the excuse me on the blank
and they throw there it goes now you
want to hold your post in place while
the solder sets release your tweezers
and turn off your torch I'm going to
take this one now and I'm going to put
it in the quench cup and let's do it one
more time I'm going to take the tweezers
I'm going to make sure they're cool so
put them in the quench cup make sure
they're nice and cool and pick up my
next post for the second post we've come
in for an extreme close-up so you can
really see how this works I have the
post already mounted in the Cross
locking tweezer
and I'm going to go ahead and strike my
torch
come in again and heat up a lien
see solder has flowed there at the end
of the post preheat the blank warming up
that flux now I'm gonna hold my post in
place while heating the blank
there are girls hold it in place let the
solder set release the tweezers turn off
the torch and that looks great we're
gonna quench the second earring let's
take them out of the quench bowl here so
I can show you these maybe in this part
of my hand will be better now we have
the post soldered now we're going to
clean up the post in the pickle pot and
come back I want to show you how to
strengthen these posts they've become
very annealed during the soldering
process and we need to work hard in them
here are the post earrings fresh out of
the pickle see how they're all white
like this that's because when you heat
sterling silver the silver in the alloy
comes to the surface so that's what that
is this comes up super easy with a pro
polish pad but before we do that we need
to talk about these posts one more time
when we soldered them we accidently
annealed which means softened the post
so this is super malleable right now if
you wore these now I mean it would be
fine but if you accidentally took a nap
in them you may bend the post so let's
work harden this in a very easy way
which is to use a flat nose pliers just
take those grasp at the very end of the
post hold the blank and twist
just the slight manipulation will work
harden the wire
you know else it's gonna do it's gonna
check your solder join and make sure
it's nice and strong so I'm just
squeezing this to make sure it's nice
and straight so now you just fill with
my finger it's not going anywhere let's
do it the next one
straighten this
right now it's twist or grasp and twist
right so the posts have been work
hardened I'm going to do the be
education quick and dirty method here of
darkening the impressions and grab my
trusty sharpie marker
you can be kind of messy about this fill
in those stamped impressions
remember you want the Sharpie to be dry
before you start to pro polish your
piece Pro polish pads do not like to be
wet
and this is a quick little
grab the little ear nuts oh you know
what we have a little whitening on the
back and a pickle pot I'm just gonna
give us a little swipe I had the ear
nuts now you have your very own pair of
diamond earrings
[Music]
it's like comes like this from below the
the table
I sure for Manske teaches it
[Applause]


